So, you’ve decided to build a new playground! By reading this article, you’ve already taken the first step toward improving your school and planning the play area of your dreams.
We created this fun and easy-to-follow guide to walk you through the process of playground planning step-by-step.
- Assess Your Needs
At the beginning of the process, sit down and clearly outline your goals for the play area while also answering the following question: who will utilize this playground?
Consider age range, child capacity, and differing abilities. Knowing who will use your playground is key to selecting playground equipment and designing a park where the entire community can come together and play. Communities are diverse, and modern playground design often encourages inclusive and multigenerational play.
Identify the primary users of your playground, plan for age-appropriate equipment, and consider implementing inclusive principles into your design.
- Analyze the Site
How much space do you have? When planning a playground, having exact measurements of your allotted space is extremely important.
Do you have a flexible canvas to work with, or is the playground limited to a small area? Will you install multiple play areas for specific age groups of children? These are all important questions to keep in mind.
Additionally, you will need to consider:
Things Close By: You’ll want to pay attention to nearby amenities such as parking, picnic areas, and/or restroom facilities. Planning your site closer to these types of features will greatly increase traffic to your playground site, as your park will be more appealing. In contrast, also examine how close your play area will be to things like streams, retention ponds or major roads. Keep in mind you may need to factor in the cost of fencing to keep everyone safe.
Soil & Drainage: You’ll want to study your site and determine if water pools in specific areas. Ideally, your play area will be graded so that water runs easily away from the play area.
Trees and Plants: Trees and plants near the area are important factors to consider when planning out your play space. Trees can provide much needed shade, but you must consider the roots. You will also need to consider landscaping and having plants that require little maintenance.
Underneath and Overhead: It’s important to be aware of what’s underground when selecting your playground site. You won’t want to hit power or gas lines when installing your playground. You won’t want to risk utility companies having to dig on or around your playsite in the future. Contact the city to ensure you know the locations of utility lines underground. Also keep safety in mind when selecting your site, in respect to overhead dangers like power lines or large trees with hanging branches.
- Set a Budget
The most important part of planning your playground is developing a budget. Your budget will be the major deciding factor in what your playground will look like. You’ll need to consider where the funding will come from. Do you already have an allotted amount to spend, or will you need to plan fundraisers? Financing and phasing, as well as grants, are also options you can explore to help fund your project.
- Design Your Playground
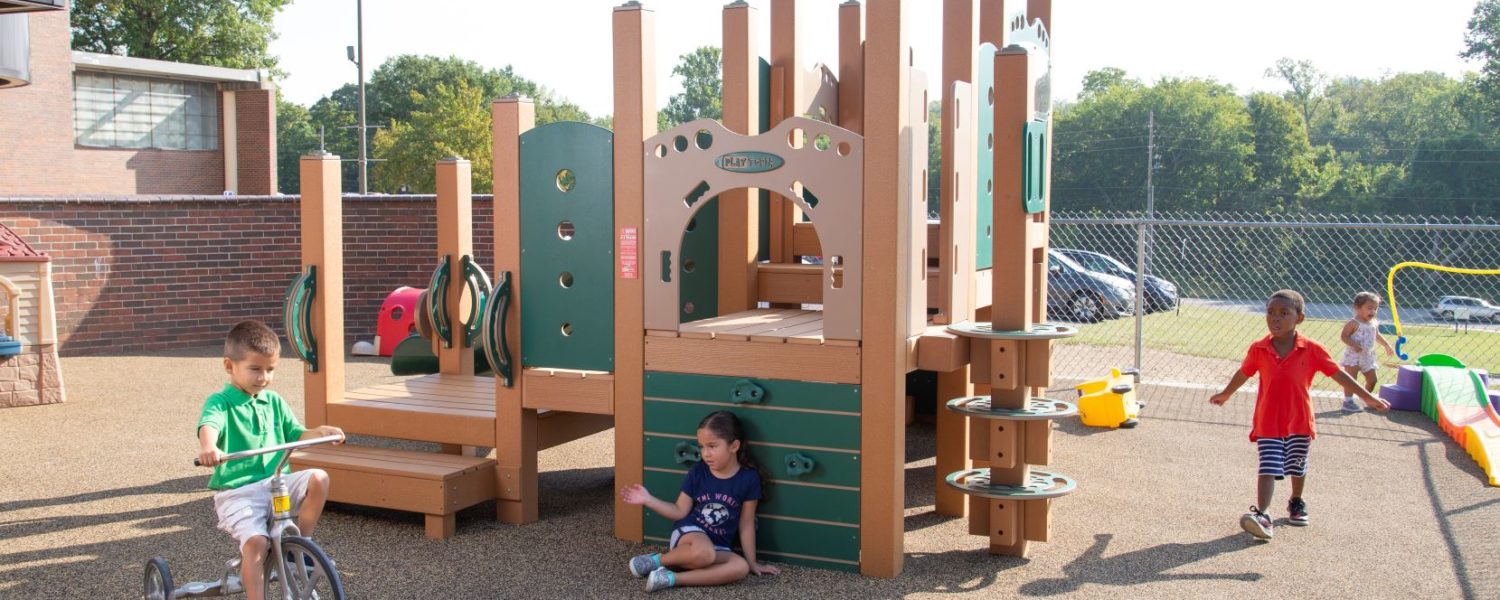
Selecting play equipment is the most exciting part of any project…and also the most important! The goal of any playground project is simple: create an exciting and engaging play space that encourages imagination and active play!
There are various types of equipment you’ll want to consider for your playground. Play structures are traditionally larger pieces of equipment that include decks, ramps, bridges and slides.
Freestanding equipment is anything not attached to the main play structure. This can include things like climbers, swings, and free-standing slides. You may want to add additional independent play items like musical instruments, spinners and spring riders.
Laying out your equipment within the allotted space can be done with the help of a design team. A design team can work with you to create a site plan that encourages maximum play while keeping users safe.
Next, you’ll want to choose playground safety surfacing. To meet safety guidelines, every playground must meet use zone and surfacing specifications that are specific to the equipment you choose.
The three main types of surfacing are:
Engineered Wood Fiber: This is a loose-fill surfacing option made up of wood chips. This type of surfacing is the most flexible and cost-effective method, but also the most high-maintenance. Maintenance will be needed to keep the surfacing at a safe depth all over the playground at all times. This type of surfacing is also not the most conducive to wheelchair accessibility.
Rubber Mulch: This is another loose-fill surfacing option. Rubber mulch is made up of 100% recycled rubber mulch nuggets. They are non-toxic, odor-free, and non-staining. This product is also weather-resistant and does not easily blow away. Again, being loose-fill, it will have to be maintained at the proper depth for safety and replaced as needed.
Poured-in-Place Rubber: PIP is a safe, attractive and low-maintenance surfacing option. The product is made up of fine rubber particles applied in two layers for maximum safety. This type of surface helps save money long term as it requires little to no maintenance and lasts for many years. It meets all CPSC and ADA playground surface requirements as it is the most accessible surface for wheelchairs and walkers. PIP is also fully customizable with many colors for unlimited design potential.
- Install
Lastly, you’ll want to consider your installation options. The option you choose will greatly affect the overall cost of your project.
There are three main options for installation:
Customer Installation: You will be responsible for assembling and installing all of your equipment as well as your borders and surfacing. This is the most cost-effective option. You need to consider your knowledge, experience, access to tools and number of volunteers.
Supervised Installation: With a supervised installation, you can save money while also ensuring that the process is smooth and error free. By choosing this option, you provide all of the necessary tools, labor and equipment for the installation. An experienced installation supervisor will oversee coordinating your team of volunteers and providing expert installation knowledge.
Professional Installation: If you select this option, all the necessary tools, materials, and staff arrange every detail of your installation. Your newly purchased equipment will be assembled and installed by a crew of certified playground installers. While the cost is not included in the price of equipment, it is the most convenient and worth considering utilizing a professional team of experts.
Now you’ve planned, designed, purchased, and installed the play area of your dreams…you’re ready to play!
This information is courtesy of Constructive Playthings, which is dedicated to providing safe and high-quality products every step of the way from playground design to equipment installation, www.constructiveplaythings.com.


